Simple graduation cakes
graduation class photo cake: a sweet way to celebrate success
By:
Published:
23 Sept 2025⭐Must-Have Products I Use & Recommend!⭐
I personally use and love these products in my kitchen. I only recommend what I trust!


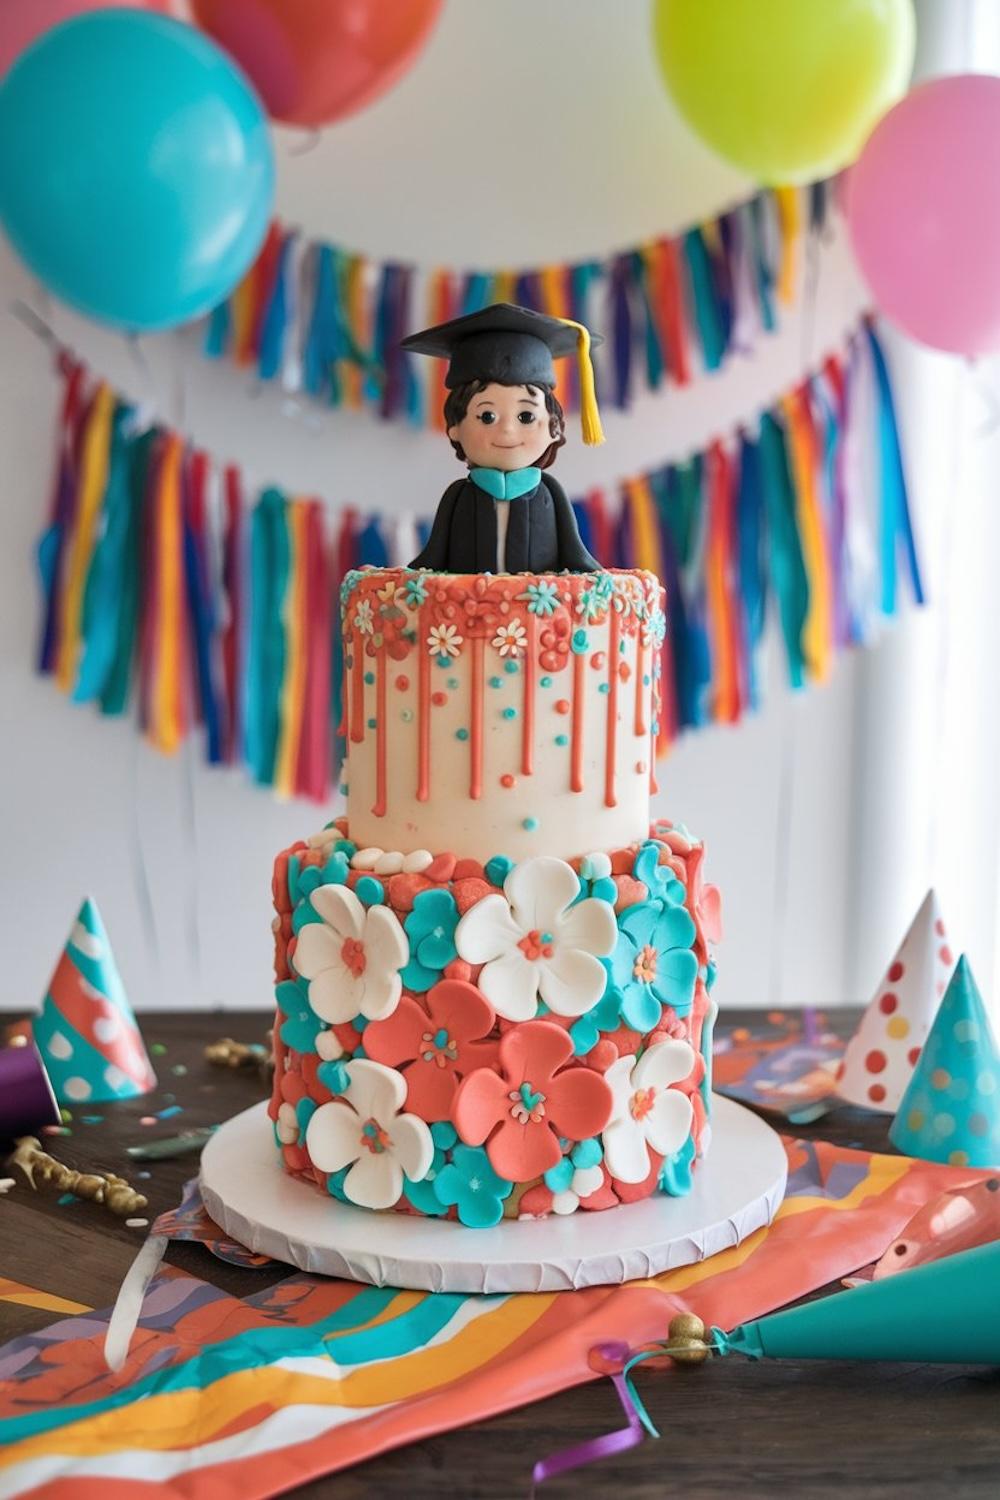
Graduation is a huge milestone, right? I remember my own graduation like it was yesterday – the excitement, the nerves, the overwhelming sense of accomplishment. And of course, the party! A special occasion calls for a special cake, and what could be more fitting than a Graduation Class Photo Cake? I was at a loss of what to get my niece for her graduation, because she isn't much of a jewelry person. I asked around the office and one of my co-workers mentioned this idea. It can be completely customized to capture those cherished memories from school days and make the day all the more memorable.
This cake isn't just about the taste (though it's incredibly delicious, I promise!). It's about creating a centerpiece that sparks conversations and brings back fond memories. It's about seeing everyone's faces light up when they recognize themselves or their friends in the class photo. This cake is a real showstopper!


Required Equipments
- 9-inch Round Cake Pans
- Electric Mixer
- Mixing Bowls
- Whisk
- Serrated Knife
- Spatula
- Wire Rack
Graduation Class Photo Cake: A Sweet Way to Celebrate Success: Frequently Asked Questions
Graduation Class Photo Cake: A Sweet Way to Celebrate Success
Celebrate graduation with a personalized class photo cake! This unique dessert combines a delicious cake with a custom edible image, making it the perfect centerpiece for any graduation party.
⏳ Yield & Time
Yield: 12 servings
Preparation Time: 30 minutes
Cook Time: 35 minutes
Total Time:
🍽 Ingredients
📖 Instructions
- **Preheat and Prep:** First things first, preheat your oven to 325°F (160°C). Grease and flour two 9-inch round cake pans. This prevents the cake from sticking and ensures even baking.
- **Cream Butter and Sugar:** In a large mixing bowl, cream together 1 cup (2 sticks) of unsalted butter (softened, obviosuly) and 2 cups of granulated sugar until light and fluffy. This usually takes about 5-7 minutes with an electric mixer. This step is crucial for a moist and tender cake.
- **Add Eggs and Vanilla:** Beat in 4 large eggs, one at a time, then stir in 2 teaspoons of vanilla extract. Make sure each egg is fully incorporated before adding the next. We don't want a eggy flavored cake, now do we?
- **Combine Dry Ingredients:** In a separate bowl, whisk together 3 cups of all-purpose flour, 3 teaspoons of baking powder, and 1/2 teaspoon of salt. This ensures even distribution of the leavening agent and prevents clumps. Also make sure your baking powder is fresh, it can make or break the cake.
- **Alternate Wet and Dry Ingredients:** Gradually add the dry ingredients to the wet ingredients, alternating with 1 cup of milk. Begin and end with the dry ingredients, mixing until just combined. Do not overmix! Overmixing develops the gluten in the flour, resulting in a tough cake. Don't be that person.
- **Divide and Bake:** Divide the batter evenly between the prepared cake pans. Bake for 30-35 minutes, or until a wooden skewer inserted into the center comes out clean. Let the cakes cool in the pans for 10 minutes before inverting them onto a wire rack to cool completely.
- **Make the Buttercream Frosting:** While the cakes are cooling, prepare the buttercream frosting. In a large mixing bowl, cream together 1 cup (2 sticks) of unsalted butter (softened) and 4 cups of powdered sugar until smooth and creamy. Add 1/4 cup of milk and 1 teaspoon of vanilla extract, then beat until light and fluffy. For a smoother consistency, sift the powdered sugar before adding it.
- **Level the Cakes:** Once the cakes are completely cool, use a serrated knife to level the tops. This ensures a flat surface for frosting and decorating.
- **Frost the Cake:** Place one cake layer on a serving plate or cake stand. Spread a generous layer of buttercream frosting over the top. Place the second cake layer on top and frost the entire cake with the remaining buttercream frosting. Make it look as smooth as you can, but don't stress too much!
- **Prepare the Edible Image:** Order a custom edible image of the class photo from an online bakery or specialty cake supply store. Make sure to provide a high-resolution image for the best results. Some stores require a few days of lead time, so plan accordingly.
- **Apply the Edible Image:** Carefully peel the backing from the edible image and gently place it on top of the frosted cake. Smooth out any wrinkles or bubbles with your fingertips or a fondant smoother. Try not to tear the edible paper in the process.
- **Decorate (Optional):** Decorate the cake with additional frosting, sprinkles, or edible decorations to match the graduation theme. Consider using the school colors or adding graduation caps and diplomas made from fondant. This is where you can let your creativity shine!
- **Chill and Serve:** Refrigerate the cake for at least 30 minutes to allow the frosting to set before serving. This makes it easier to slice and prevents the decorations from smudging.
- **Cut, Serve and Enjoy!**
📝 Notes
- For a chocolate version, add 1/2 cup of cocoa powder to the dry ingredients.
- You can use any flavor of cake mix as a base if you're short on time.
- Store leftover cake in an airtight container in the refrigerator for up to 3 days.
🍎 Nutrition
Calories: 450 kcal
Protein: 5 g
Fat: 20 g
Carbohydrates: 65 g
Fiber: 1 g
Calcium: 50 mg


